

By integrating your Facebook page with DOPLAC, you can easily schedule and manage your posts. Using this guide, you will learn how to connect your DOPLAC account with your Facebook page.
Easy 3 Steps Guide To Connect Facebook Page To Doplac
Here is a simple instruction:
Step 1: Connect a Social Channel


Click on "Social Channels" under the Social section in your DOPLAC dashboard
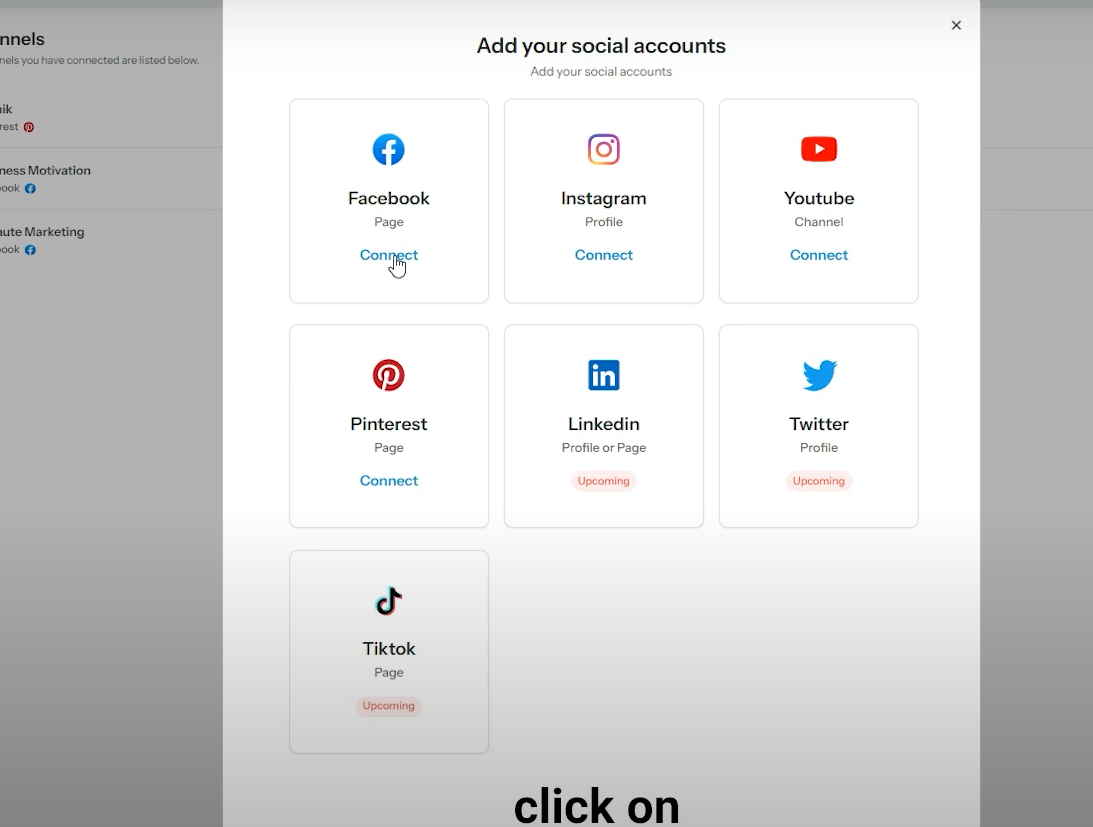
Click on "Connect Social Channels," then select Facebook. Click on "Connect" to initiate the connection process.
Step 2: Continue with Facebook
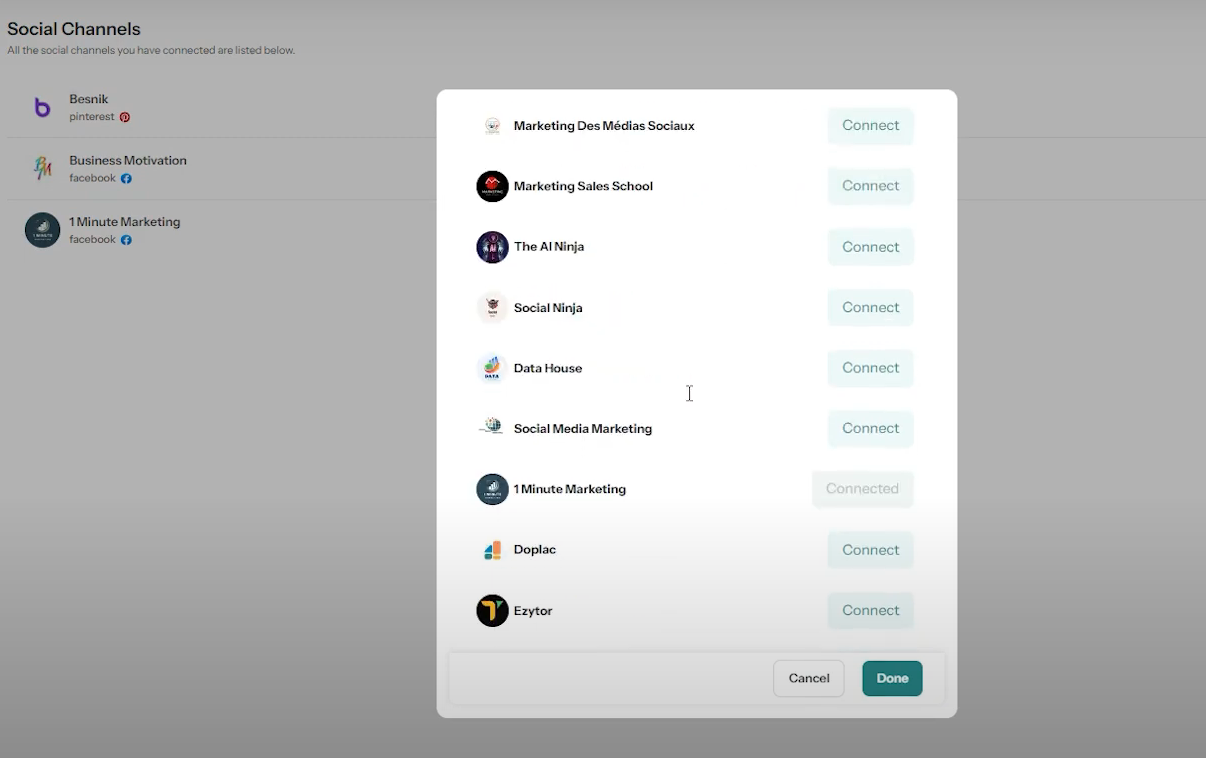
Click on "Continue," and you will be prompted to choose your Facebook page. Select "Current Page Only" to ensure that you are connecting the correct page. Click on "Save" to finalize the connection between your Facebook page and DOPLAC CRM.
Step 3: Manage and Schedule Posts
Now, you can create, schedule, and manage posts for your Facebook page directly from DOPLAC CRM. To disconnect the page, simply click on "Delete," and type "Delete" to confirm.
Note:
For a visual walkthrough, watch our video tutorial that covers each step in detail. If you run into any issues, our support team is ready to assist you—don't hesitate to reach out for help!


