

Doplac makes it easy to start an email promotion that will help you connect with your audience. These simple steps will help you set up and plan email campaigns, change settings, and pick the email templates you want to use.
Create an Email Campaign With Simple Steps
The Following Steps will help you to Create a Successful Email Marketing Campaign through Doplac CRM.
Step 1: Create a New Campaign
- Sign in to your Doplac account.
- Go to the Tools section.
- Under the Email Marketing tool, select Campaign.
- Click on Create New Campaign.
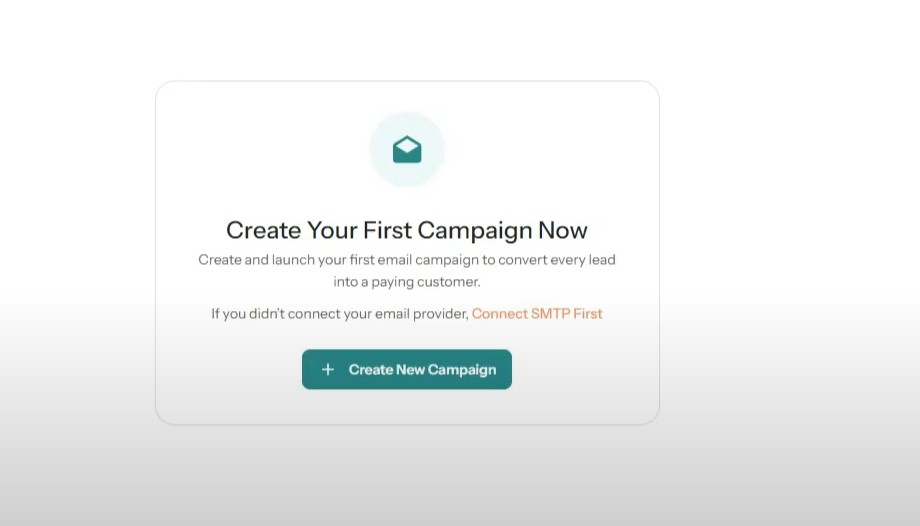
Step 2: Connect Your SMTP Provider
- Before proceeding, ensure your SMTP provider is connected to your Doplac account.
- Select your email provider and enter the SMTP Name.
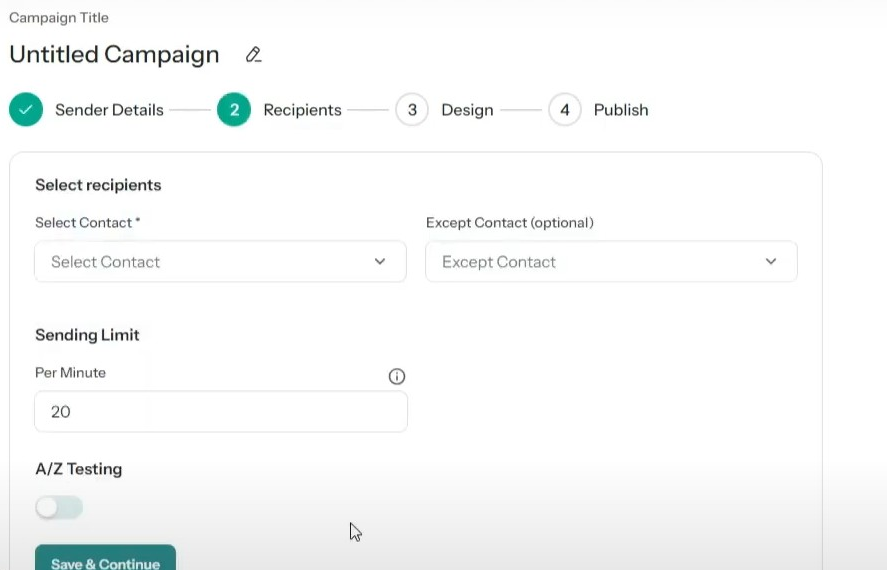
Step 3: Configure Email Settings and Select Contacts
- From Email: Choose the email address from which your campaign will be sent.
- From Name: Enter the name that will appear in the recipient's inbox.
- Reply Email: Enter the email address where replies should be sent, if applicable.
- Subject Line: Write a compelling subject line for your email.
- Click on Select Contact to choose your contact list.
- Set the Sending Limit (e.g., 100 emails per hour).

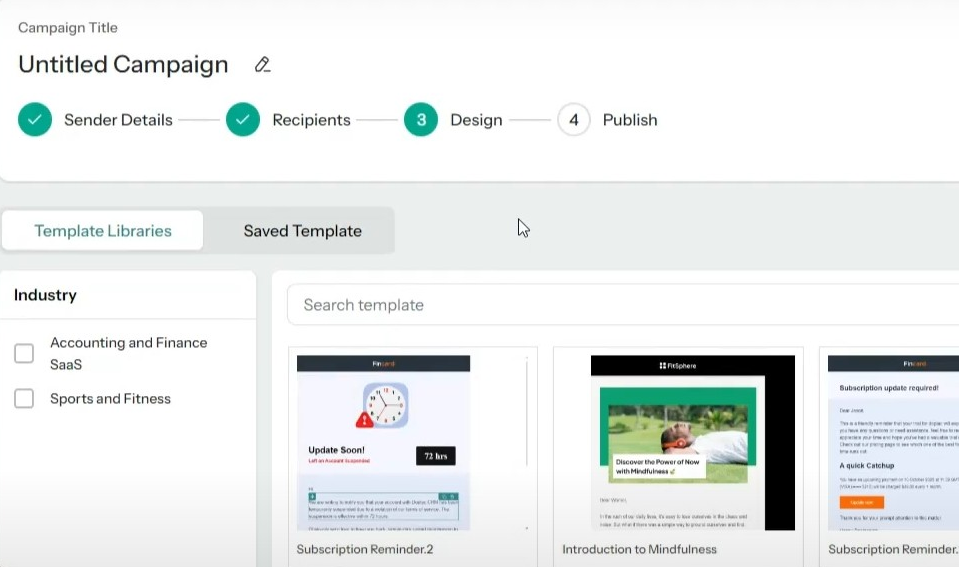
Step 4: Choose an Email Template
- Select a template for your email campaign.
- Click Send Test Email to preview how your email will look.
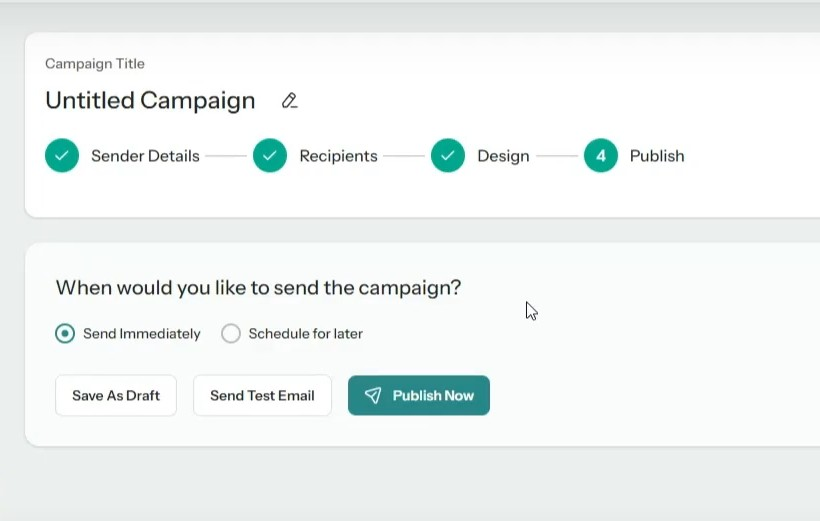
Step 5: Finalize, Save and Launch
- Save your work and click Continue.
- You'll have two options:
- Send Immediately: Send the campaign right away.
- Schedule for Later: Choose a specific date and time to send the campaign.
- Click Save to confirm your settings.
- Your email campaign is now ready and will be sent according to your chosen schedule.
Note:
check out the video we made. Also, In case of any questions, please contact our customer support team.


