

A personalized email sequence is a great way to keep in touch with your audience and grow leads over time. Setting up an automated email series is easy and can be changed to fit your needs with DOPLAC. Everything from choosing your contacts to planning your email sequence will be explained in this guide.
Set Up a Customized Email Sequence: Easy 4 Steps
Start now and find out how to set up your own email series on DOPLAC!
Step 1: Create or Manage Your Email Sequence
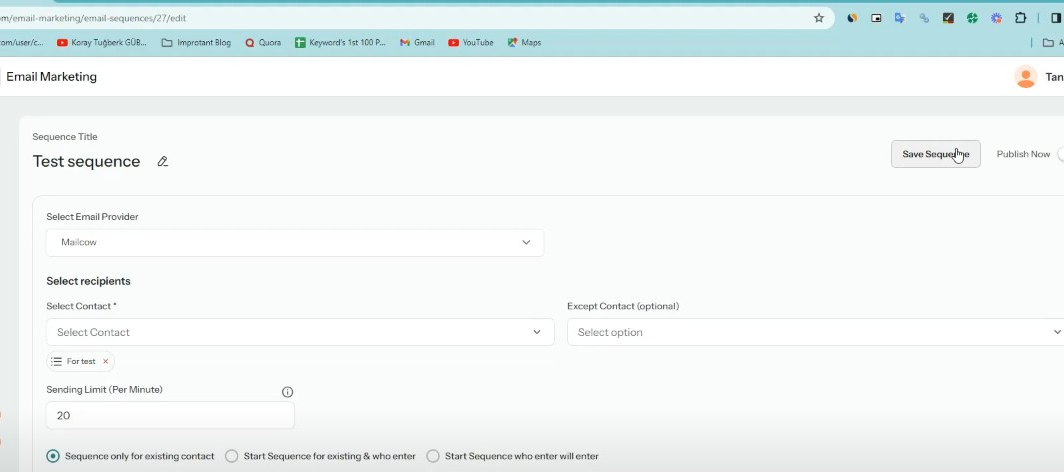
After logging into your Doplace account, navigate to the email marketing section. Click on "Sequence" under the email marketing menu. You have the option to create, edit, or delete email sequences. To start a new one, click on "Create New Sequence." Provide a name for your test sequence. For example, "Welcome Series." Choose your SMTP provider from the list available.

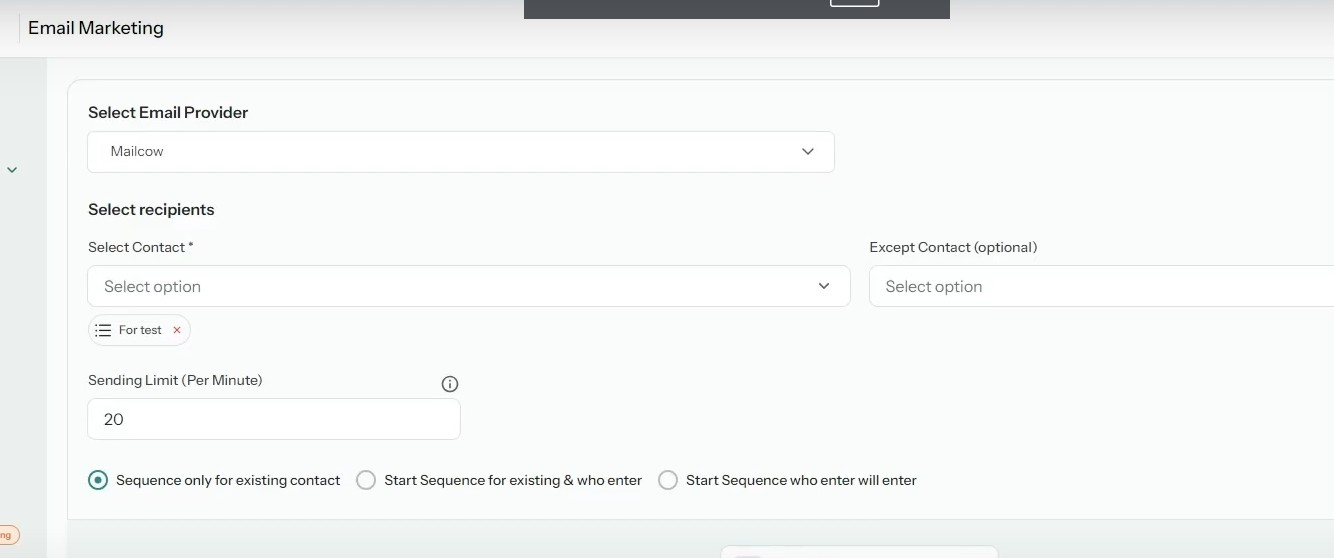
Step 2: Choose Your Contact List
Select your desired contact list. If you have specific lists, choose the one that best fits your needs. Define the sending limits for your sequence based on your preferences.
Select the option that suits you best from the choices provided. Typically, "Instant Send" is a good choice.
Step 3: Email Setup
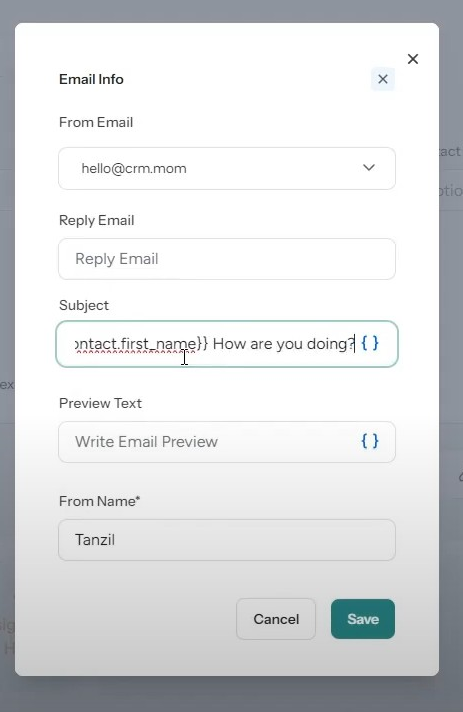
Fill in the following details:
From Email: Enter the email address from which the emails will be sent. Reply Email: Provide the email address where replies should be sent. Subject Line: Write a subject line for the email, e.g., "Welcome to Our Community!" Preview Text: Include preview text that gives recipients a sneak peek of the email content. From Name: Enter the name you want recipients to see as the sender.
Click "Save" to confirm the details. Your email is now set up. Click on "Design Email Here" to choose an email template. You can customize the template as needed. After designing your email, save your work and click "Continue."
Step 4: Add a New Email And Finalize Your Sequence
If you want to add another email to the sequence, click on "Add New Email." Choose the timing for the next email, including the date, time, and time zone. Enter the subject line and other essential details. Then, design the email as you did before. After designing, save your work and proceed. If you’re ready to go live, click "Publish." If you want to save your progress without publishing, click "Save Sequence."
Note:
It's done! Now that your customized email sequence has been set up, it's ready to send. However, we have created a tutorial video to help you understand the process better.
So, check out the video we made.
In case of any questions, please contact our customer support team.


