

Follow these steps to integrate Elastic Email SMTP with your Doplac account successfully:
Step 1: Select Elastic Email as Your SMTP Provider
Navigate to the "SMTP Setup" section under the Email Marketing tools. Click on "Elastic Email" from the list of SMTP providers. Name your SMTP setup (e.g., "Elastic Email").
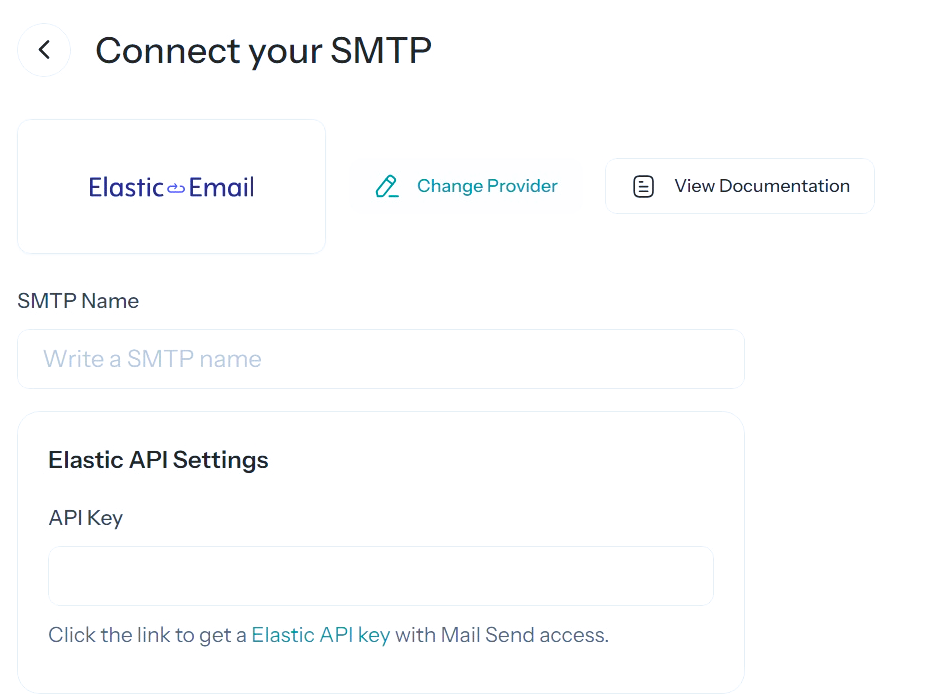
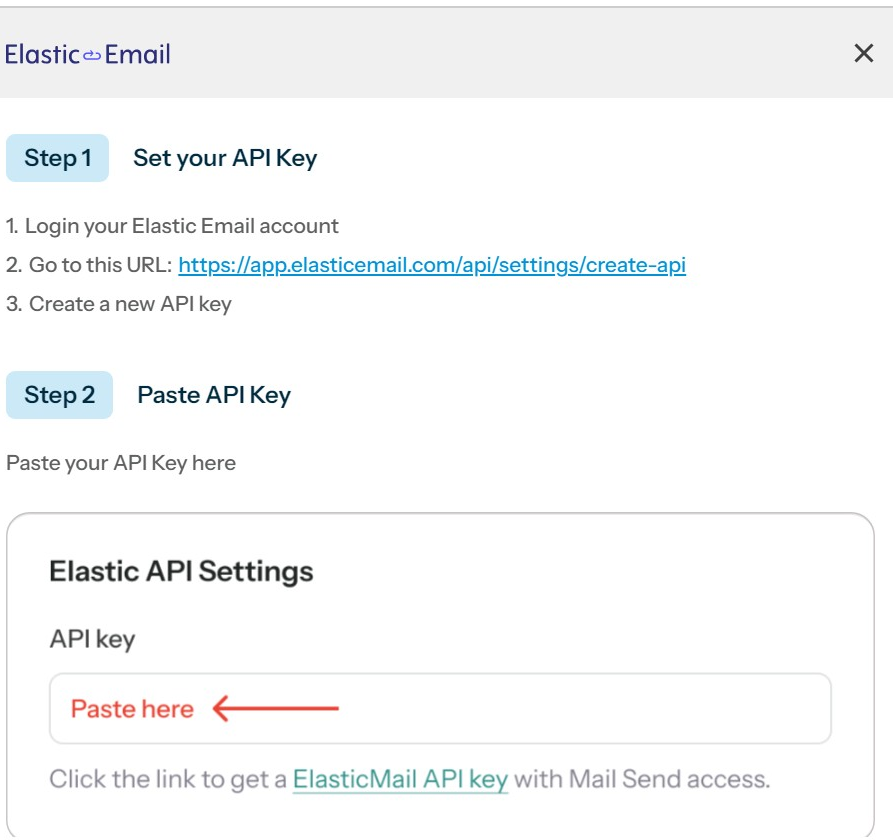
Step 2: Generate and Enter Your API Key
Go to your Elastic Email account. Click on "Settings," then select "Create Additional API Key." Name the API key, grant "Full Access," and click "Create". - Copy the API key and paste it into the Doplac SMTP setup
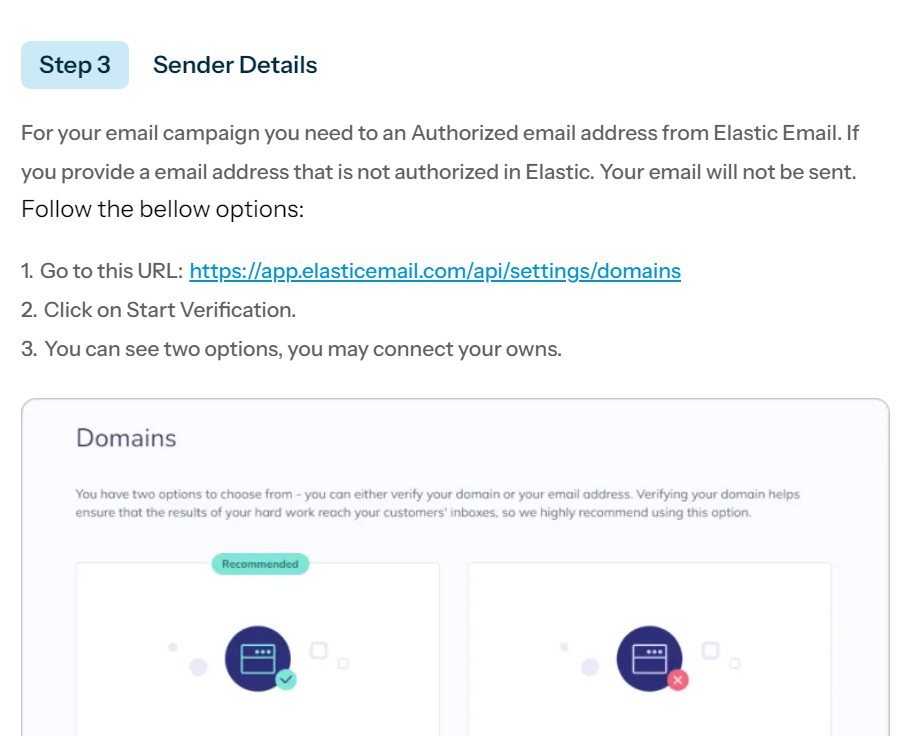
Step 3: Verify Your Email Address
In your Elastic Email account, navigate to "Settings" and click on "Manage Domains." Start the verification process by choosing "Verify Email." Enter your email address and click "Continue." Go to your email inbox, follow the verification link, and complete the process.
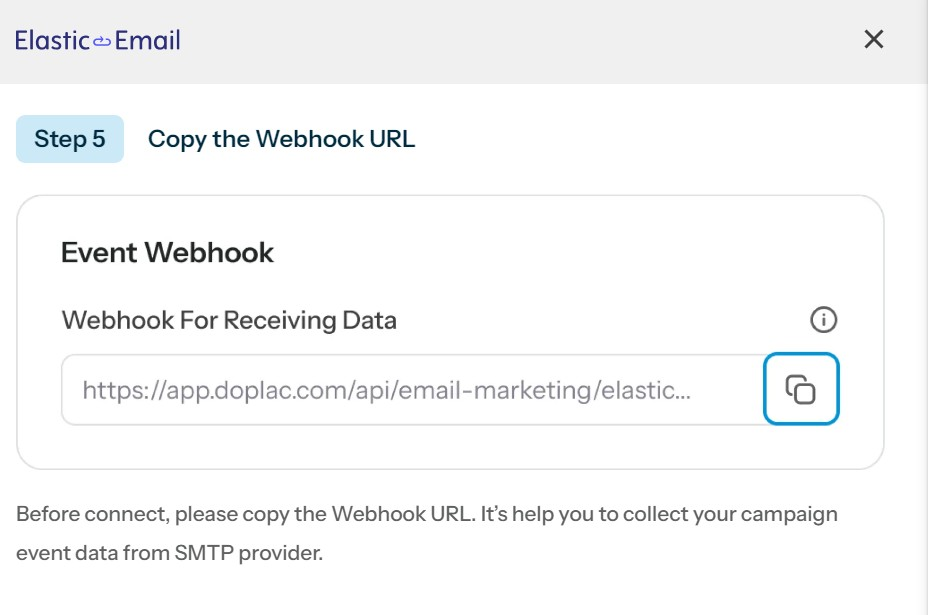
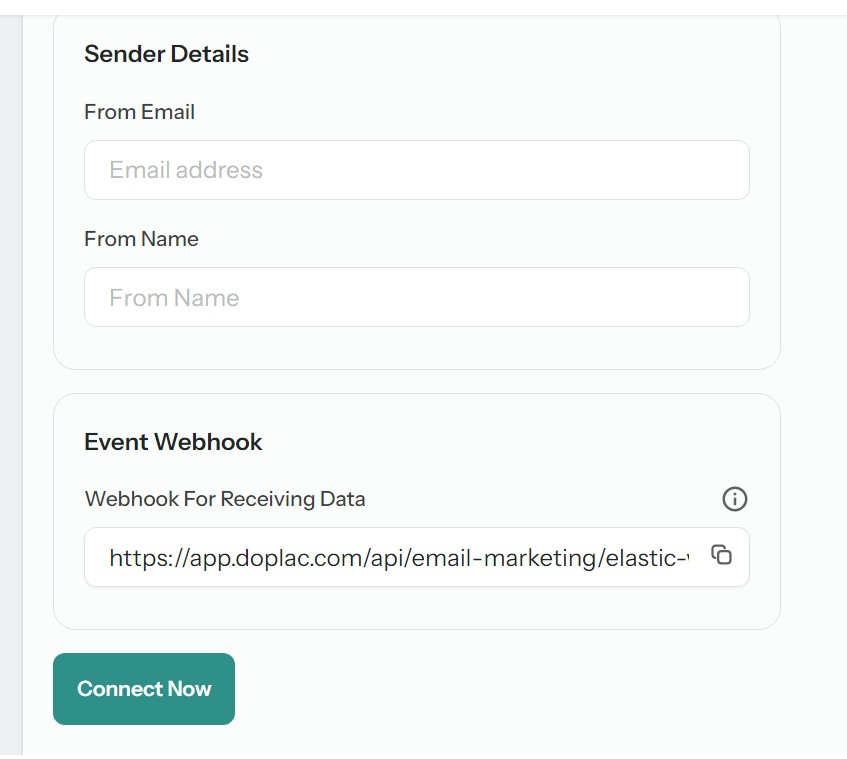
Step 4: Set Up Webhook
In your Elastic Email account, go to "Settings" and click on "Manage Webhooks." Create a new webhook by giving it a name. Save the webhook details. - Return to Doplac, input your sender details, and enter the webhook URL.
Step 5: Finalize and Connect
After entering all the required information, click "Connect Now." Your Elastic Email SMTP setup is now complete and connected to your Doplac account. You can manage or edit the setup by selecting the "Edit" option.
Note: If you need further assistance or more detailed instructions, feel free to contact our support team. We're here to help you with any issues or questions you may have during the setup process!


