

These steps make connecting SendGrid SMTP to your Doplac account easy. It will also help you set up and configure your SMTP information, ensuring smooth delivery of your marketing emails.
5 Steps To Set Up SendGrid SMTP in Your Doplac Account?
Step 1: Login to Your Doplac Account
Access your account using your credentials to begin the setup process.
Step 2: Go to SMTP Setup
Navigate to the "Email Marketing Tools" section. - Click on "SMTP Setup" and select "SendGrid SMTP Provider.
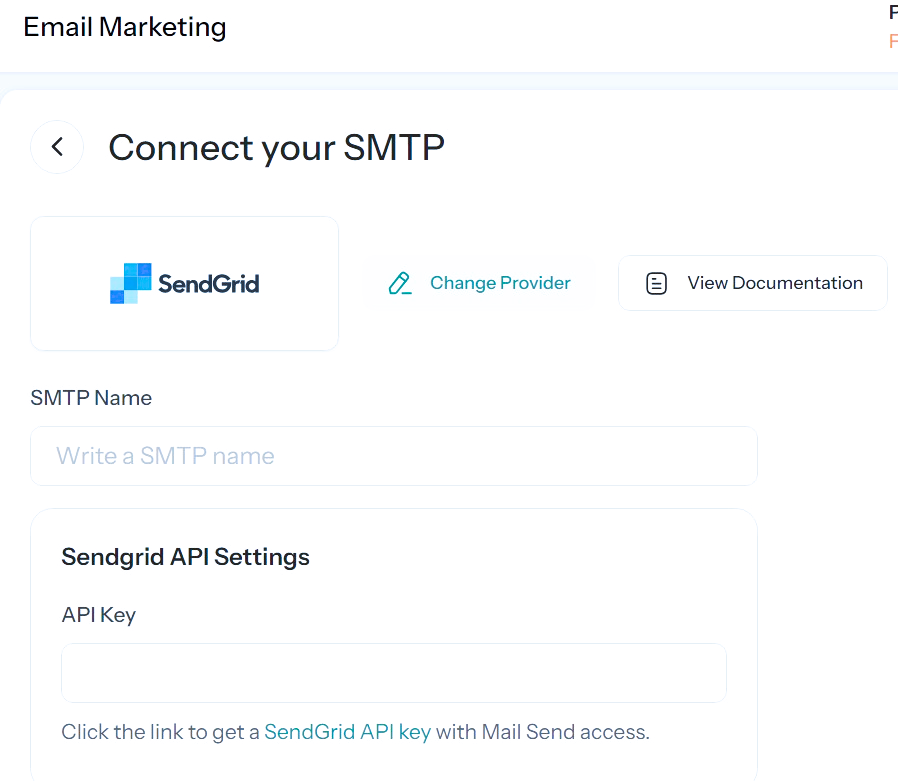
Step -3: Configure SMTP Details
Provide an SMTP name. - For API Key: Go to your SMTP account, click on "API Keys" under "Settings,
- Create a new API key by naming it, then click "Create & View." Copy the API key provided
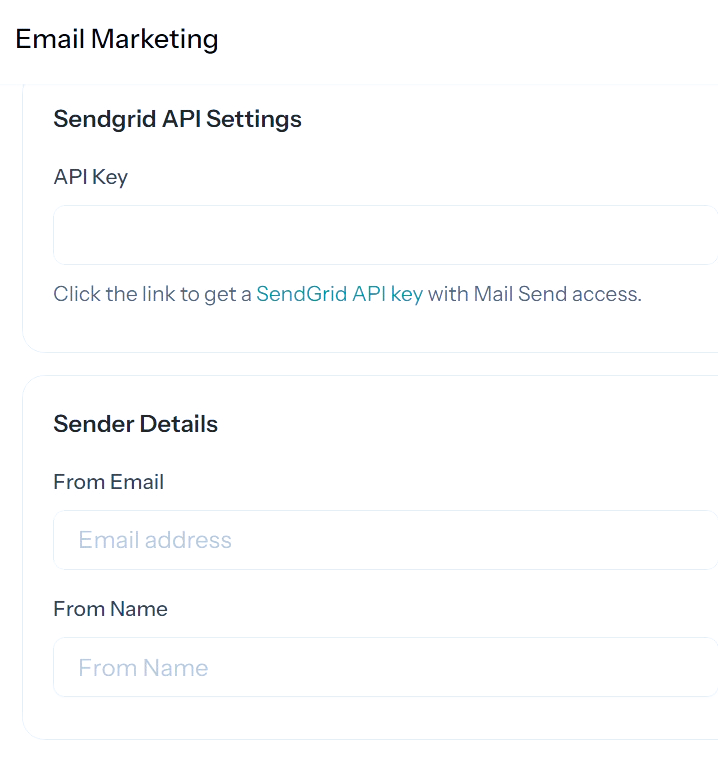
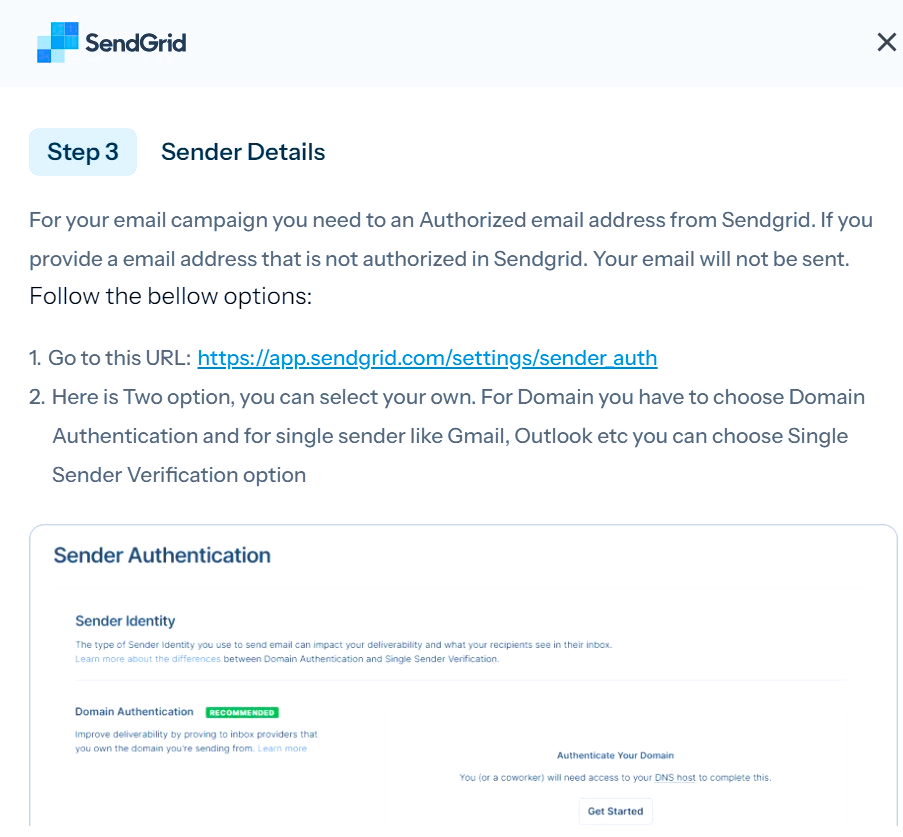
Step -4: Provide Sender Details
Enter the "From" email address that you use with your SMTP provider. To verify your email, go to your SMTP account, click on "Sender Authentication"
under "Settings," select "Single Sender Verification," and complete the required details.Verify your email through the link sent to your inbox. Set up your "From" name,which can include your brand name
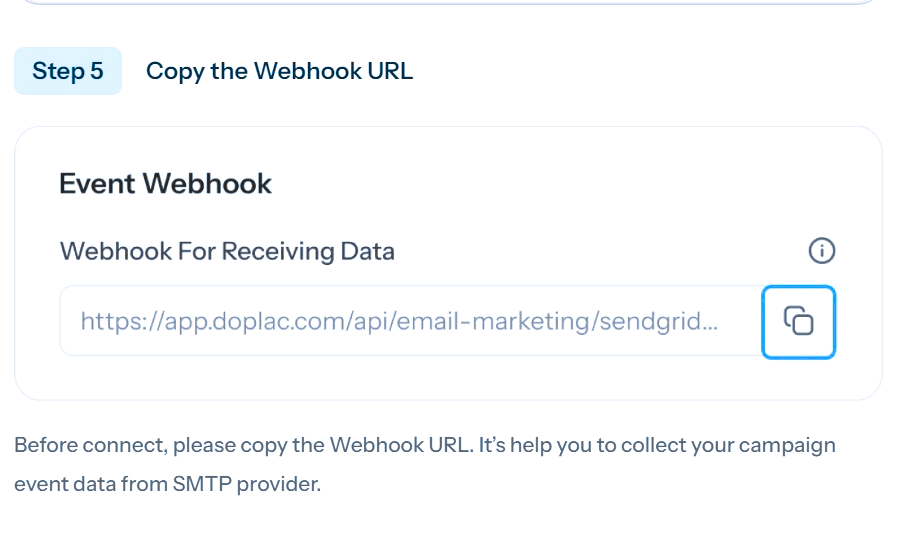
Step -5: Setup Webhooks
In your SendGrid account, go to "Settings," click on "Event Webhooks," then "Create New Webhook." Provide a name and paste the POST URL copied from your Doplac account. Select the actions to be posted, then save your settings.
Note: Our support team is here to help you if you need more detailed directions or are having trouble. Don't be shy about getting in touch—we're here to ensure your setup goes smoothly!


